
Adding new contacts is the first step in effectively managing your sales, marketing, and support processes. With Interakt’s Create Contact feature, you can add contacts manually or automate the process, making organizing and engaging with them easier.
This guide will walk you through:
-How to manually add contacts
-How to bulk upload contacts
-How to automate contact creation
-Contact assignment rules based on user roles
How to Add a Contact
Step 1: Click the Create Contact Button
-Navigate to the Contacts Page.
-Click the Create Contact button to open a side panel.
-Choose between Manual and Automated contact creation.
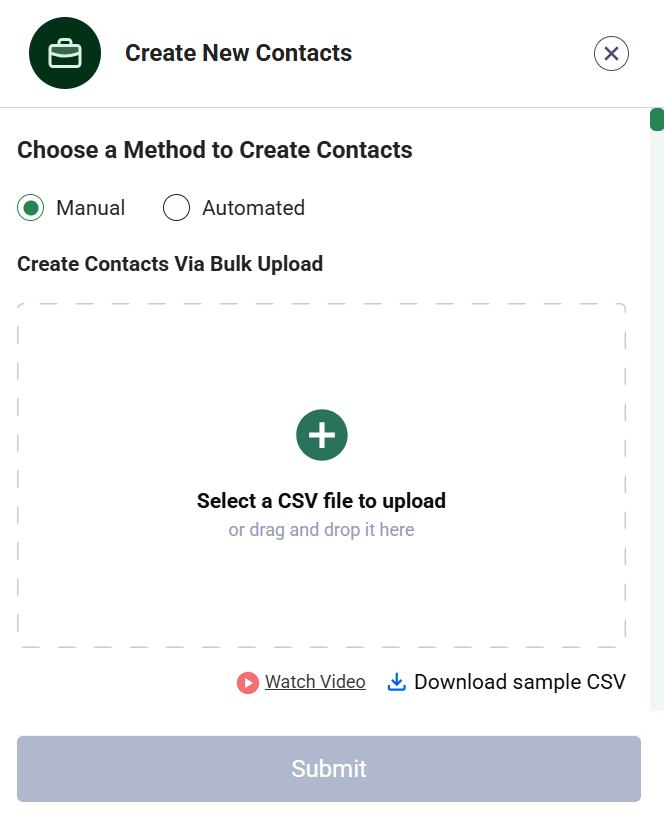
Manual Contact Creation
The Manual option is selected by default, allowing you to enter contact details individually.
Fields Required:
1.Contact Name (Mandatory)
2.Contact Number (Mandatory)
3.Status (Mandatory once added)
4.Account Owner (Mandatory once added)
5.Custom Fields (Optional)
Special Rules for Account Owner:
– By default, the account owner is the user creating the contact.
– If a Team Lead creates a contact, they can assign it to any of their team members.
– If a Sales Agent (non-Team Lead) creates a contact, it will always be assigned to them.
Bulk Upload Contacts
To save time, you can add multiple contacts at once using the Bulk Upload feature.
How it Works:
Click Bulk Upload inside the Manual section.
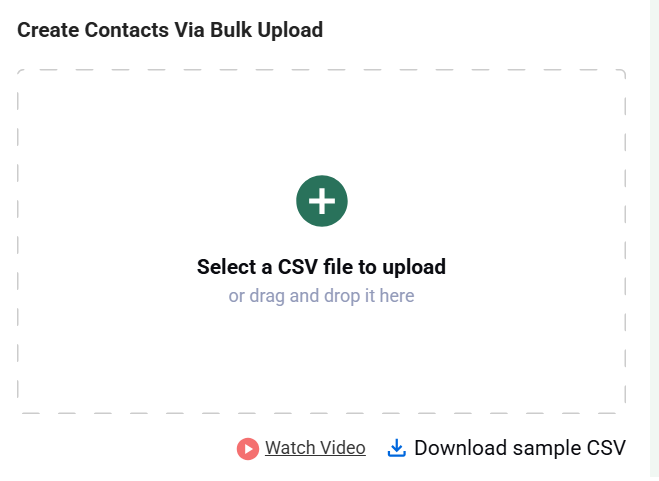
1.Upload a CSV file containing your contact list.
2.Ensure the mandatory fields (Contact Name, Contact Number, Country Code) are filled.
3.Review and confirm the upload.
Special Rules for Bulk Upload:
– Sales Agents: Contacts are always assigned to the uploader (self-assignment only).
– Sales Team Leads: If the file includes an Account Owner column, only team members’ emails will be accepted.
– Super Admins: Can assign contacts to any sales agent. If an unrecognized email is entered, the uploader will be the default owner.
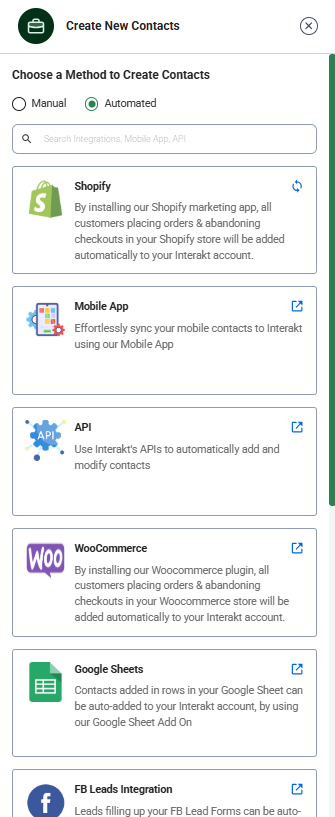
Automated Contact Creation
If you prefer automation, select the Automated option to integrate with different data sources.
Available Automation Options:
1.Shopify Sync (For Shopify Merchants)
– Click Sync to import Shopify contacts into Interakt.
A notification will confirm once the sync is complete.
2.Web Forms, API Integrations, Other Platforms
– Click the relevant button to be redirected to the setup guide.
Tip: Use the search bar to quickly find the automation option you need!
Conclusions
Adding contacts to Interakt is now simpler and more flexible than ever! Whether you prefer manual entry, bulk upload, or automation, you can ensure your contacts are properly assigned and ready for engagement.


