How to View and Assign Tags to Contacts in Contact Hub on Interakt
April 8, 2025
Marketing & Support, Sales CRM
Tags help you categorize and label your contacts in Interakt, making it easier to filter, track, and manage them efficiently. Think of tags as sticky notes that highlight key details about a contact at a glance.
For example:
– VIP Customer – To prioritize premium buyers
– Hot Lead – To focus on customers ready to purchase
– Follow-up Required – To remind yourself to reach out later
The primary purpose of contact tags within the Sales CRM system is to allow an Interakt user to view and assign tags to different contacts so that they can view important data points about the contact at a glance. This enables users to quickly understand key information related to a contact by observing the assigned tags. By using tags, you can quickly segment contacts and streamline your sales, marketing, and support efforts.
How to View Tags Assigned to a Contact
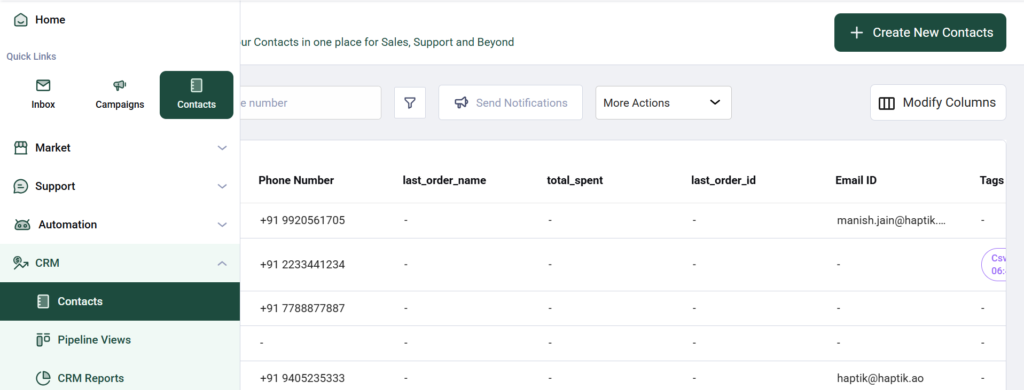
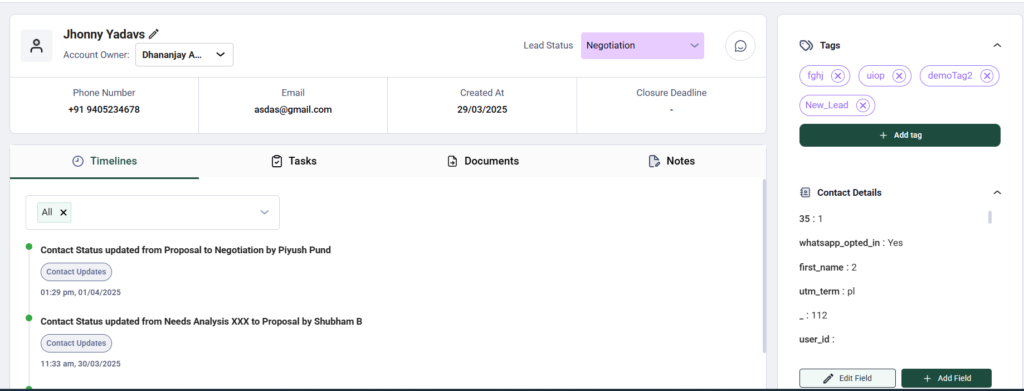
Once a tag is assigned to a contact, it will appear under their details in the Contacts Page.
Here’s what you need to know:
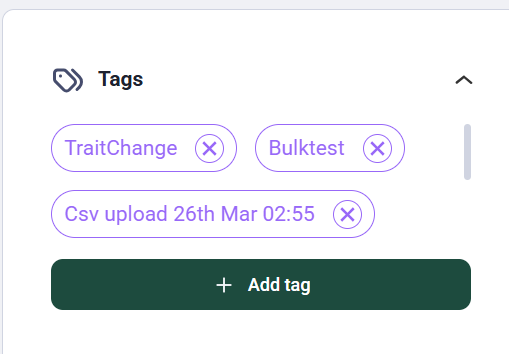
1. Tags will appear in purple.
2. You can scroll through multiple tags if a contact has more than two assigned.
How to Assign a Tag to a Contact
1. Adding an Existing Tag
1. Navigate to the Contacts Page.
2. Click on the contact you want to tag, and you will end up on this page
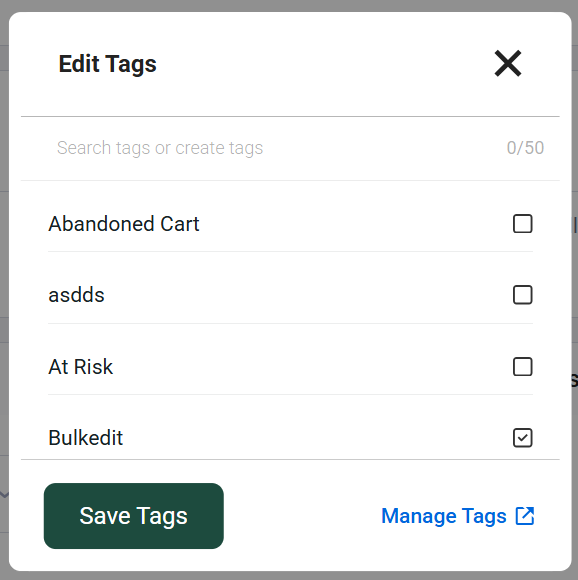
3. Look for the Add Tag button and click it. It is on the right-hand side of the screen.
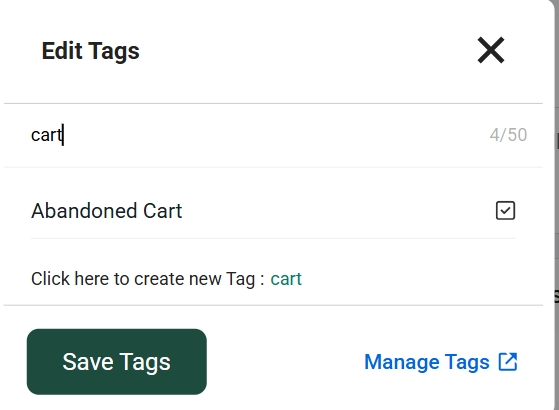
4. A pop-up will appear showing all the tags currently available.
5.Use the search box to find the relevant tag quickly.
6.Select the tag(s) you want to assign.
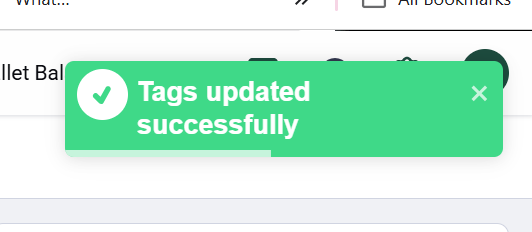
7.Click Save, and the tags will be added to the contact.
2. Creating a New Tag
1. Follow steps 1-4 above.
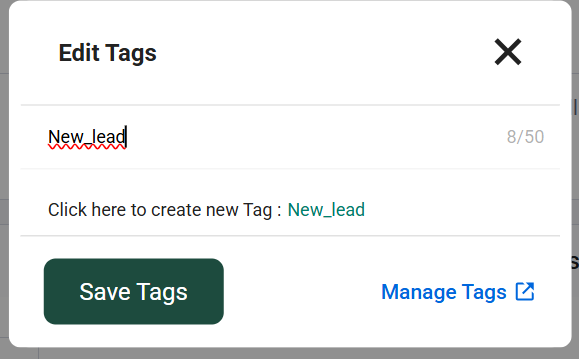
2. Type the name of the tag you want to create in the search box.
3. If no matching tag exists, you will see an option to create a New Tag.
4. Click and save it.
5. The new tag will be assigned to the contact immediately.
Therefore, users can either select from existing tags or create new ones and assign them to a contact through the “Add Tag” functionality. This feature aims to allow Interakt users to view and assign tags to different contacts so that they can see important data points about the contact at a glance.
How to Remove a Tag
If a tag is no longer relevant, you can remove it from a contact:
1. Locate the tag under the contact’s details.
2. Click on the small X button next to the tag.
3. The tag will be unassigned from the contact (but it will still exist in the system for future use).
Note: If you want to permanently delete a tag from the system, this must be done from the Settings Page.
Using tags effectively can help you organize your contacts and take quicker actions based on customer categories. Whether you’re tracking leads, customer preferences, or follow-ups, tags keep everything structured and accessible.