
Every business is unique, and so is the kind of information you want to store about your customers. That’s why Interakt lets you create your own Custom Fields to track any detail that’s important to you, whether it’s their preferred language, membership ID, or favorite product.
What are Custom Fields?
Think of custom fields as extra labels or tags that you can create and attach to your customer records (contacts). These fields let you store additional info that’s relevant to your business.
For example:
-A gym may want to add a field called “Membership Type” (e.g., Gold, Silver, Basic).
-An education consultant may want to track “Country of Interest” (e.g., Canada, Germany).
-A D2C brand might want to save “Preferred Product Category” (e.g., Skincare, Haircare).
Where to Find Field Settings?
1.Go to Contact Settings on your Interakt dashboard.
2.Click on Field.
3.You’ll see a list of entities
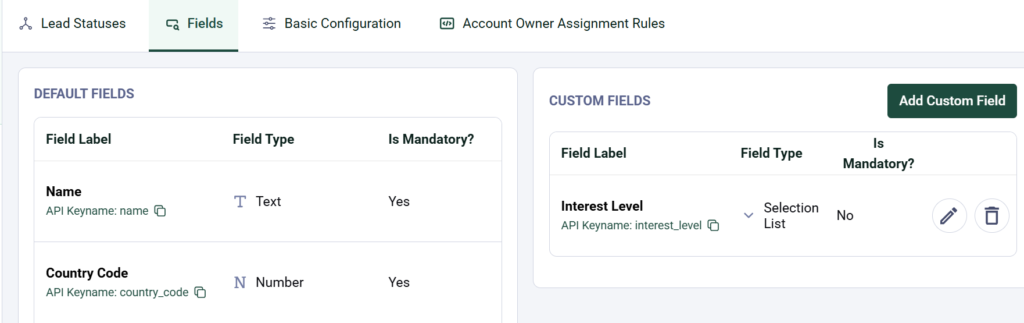
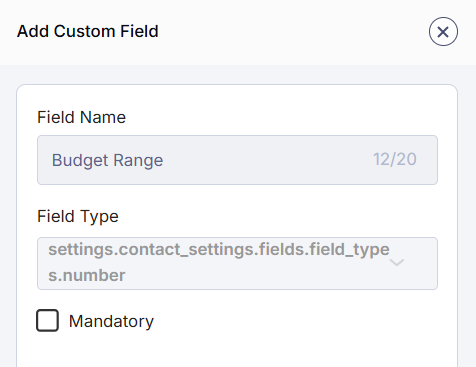
How to Add a Custom Field
1.Click the Add Custom Field button.
2.A panel will open where you can define the details of your field:
You can choose from the following types:
• Text (e.g., “Customer ID” or “City”)
•You can set a character limit if needed.
•Number (e.g., “Purchase Count”)
•You can restrict how many digits someone can enter.
•Email (e.g., “Alternate Email”)
•Automatically checks if the input looks like a real email address.
•Dropdown (e.g., “Lead Source” like Website, Instagram, Referral)
•You define the list of options.
•Want to allow selecting more than one option? Just check the box for Multi-Select!
3.Once done, click Submit.
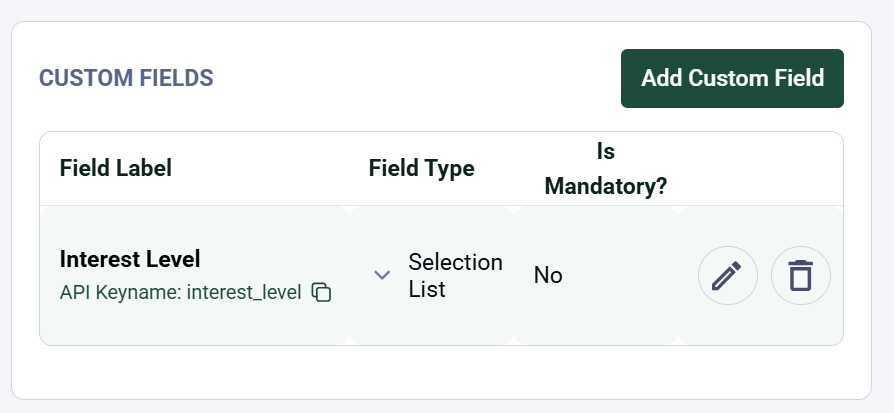
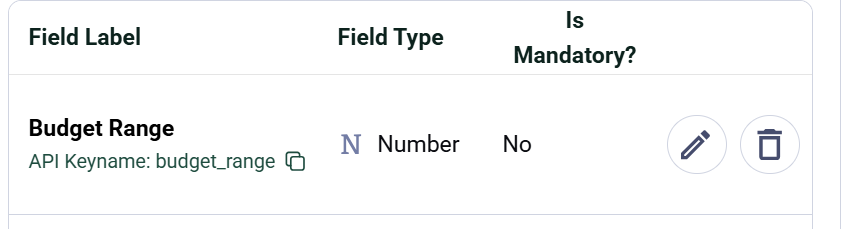
•Your new field will now appear in every contact’s profile, and your team can start using it right away.
How to Edit a Custom Field
1.In the Field Settings page, find the field you want to change.
2.Click the Edit icon.
3.The same panel opens with your current settings pre-filled — make your edits and hit Save.
4.The name editing is blocked for now, you can only change the mandatory/non-mandatory fields.
How to Delete a Custom Field
1.Find the field you want to remove.
2.Click the Delete icon.
3.You’ll see a warning message: “Deleting this field will remove it from all contacts and you will lose any data stored in this field. If you are using this field in any API calls, you’ll need to update those too.”
4.If you’re sure, click Delete.
Note: Only custom fields (the ones you’ve added) can be deleted — not the Default Fields
Who Can Access This?
Your ability to Add, Edit, or Delete custom fields will depend on your user role and permissions. If you can’t see the options, ask your Interakt admin to update your access.
Field Limits & Deletions
We’ll soon be introducing a limit on the number of custom fields you can create in Interakt. This limit will depend on your current plan or any add-on packs your organization has purchased.
If you hit the limit:
You can purchase an add-on pack to increase the number of custom fields.
Or, you can delete an existing field and then create a new one in its place.
Important:
Deleting a custom field will remove it from all contacts in your CRM—along with any data stored in it. Once deleted, this information cannot be recovered.
So, before deleting a field, make sure you’ve backed up or copied any important data from relevant contacts.
By setting up custom fields, you can personalize Interakt to match your business needs. It’s a great way to keep your contact data organized, relevant, and easy to act on. Start customizing today and make your CRM work smarter for you!


