You can now get your customers to reach out to you easily by adding a responsive WhatsApp chat widget to your website.
In this article, we’ll show you how you can add a customized chat widget to your website.
Steps to add a WhatsApp chat Widget to your website from Interakt Platform
- Firstly, you need to log in to your Interakt account and go to the Widget section
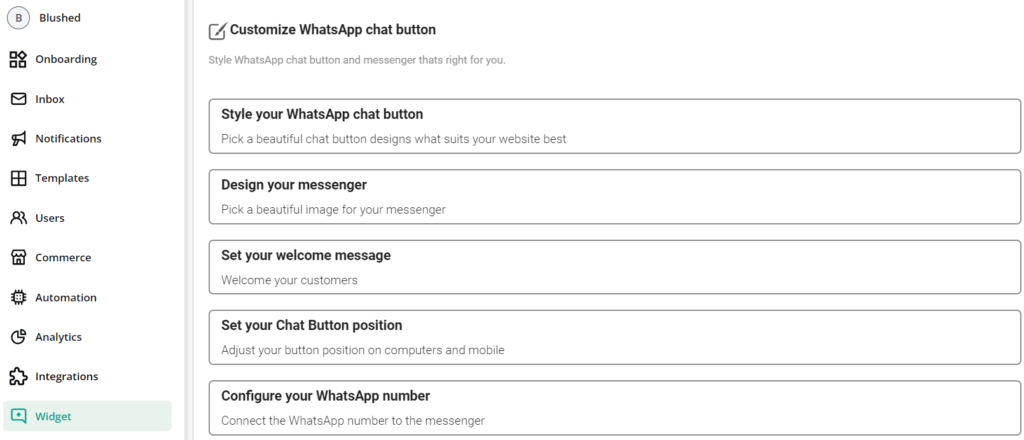
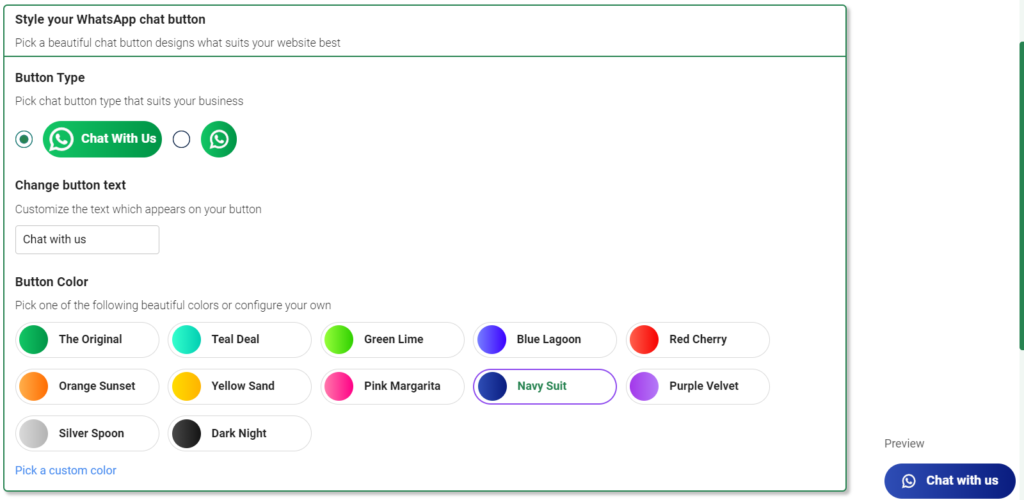
2. Now, click on the first tab, that says, Style your WhatsApp Chat Button. Here you can choose the style of your Widget button, text, and color. You can check the sample widget on the right-hand side of the screen.
3. Now, go to the next tab – Design your message and select an image that best describes your business. Or you can choose to have no image at all.
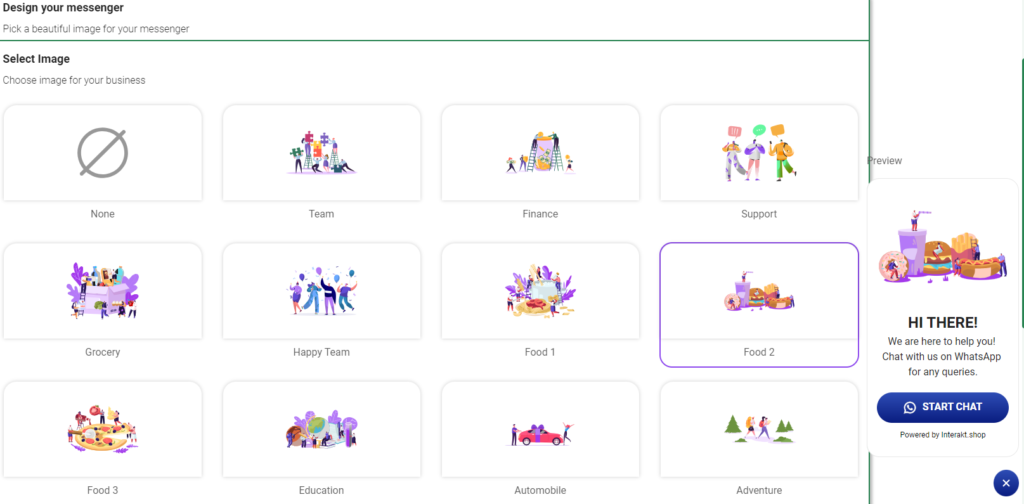
4. Now, it is time to set your welcome message, it can be anything you want your customers/website visitors to see when the click on the Widget button.

5. You can also adjust your button position on computers and mobile views. Set Chat button preview, Desktop & Mobile launcher position, and Mobile Side & Button spacing.

6. Now you’re almost at the last step, just add your WABA API number and add a pre-configured message that will be triggered once the customer clicks on the Start Chat button and click on Save Changes.

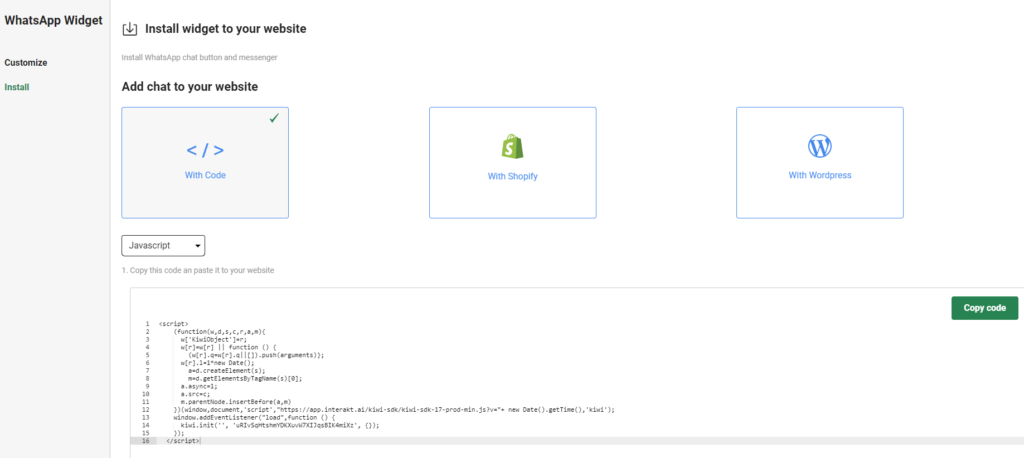
7. Now, click on the Install button on the left hand side of the screen
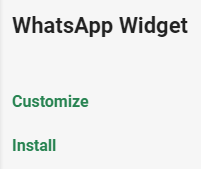
8. You will land on this page, here, you can copy the below code and paste it on your website. For Shopify merchants, you don’t need to do this step since you already have the Shopify plugin installed the changes will be saved & made live on the website.
We hope this article helped you understand how to customize & install a WhatsApp chat widget on your website.


